

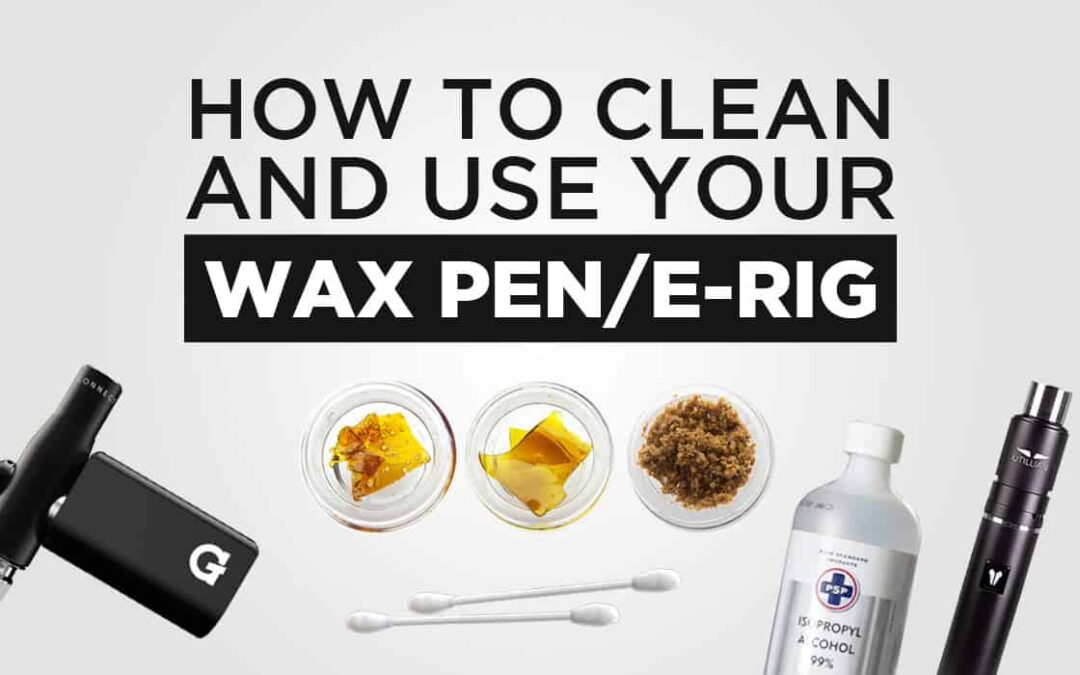
Regular cleaning improves flavor, vapor quality, and device lifespan. Follow this simple guide to clean your wax vaporizer chamber, coil, and mouthpiece.
A clean wax vaporizer tastes better, performs more consistently, and lasts longer. Residue builds up in the chamber, on the coil, and inside the mouthpiece over time. This can lead to bad flavor, reduced vapor production, and even hardware failure. Fortunately, cleaning a wax vaporizer is simple if you do it regularly. This guide covers everything you need to know.
How Often Should You Clean?
- Light users (a few sessions per week): Clean every 5–7 sessions.
- Daily users: Clean at least once a week.
- Heavy users (multiple sessions per day): Clean every 2–3 days.
A quick wipe after each session prevents heavy buildup and makes deep cleaning easier.
What You Will Need
- Isopropyl alcohol (91% or higher recommended)
- Cotton swabs (q-tips)
- Small brush (toothbrush or soft cleaning brush)
- Paper towels or microfiber cloth
- Small container for soaking
- Tweezers (optional)
Step-by-Step Cleaning Instructions
Step 1: Disassemble the Device
Turn off the device and disconnect the battery. Remove the mouthpiece, chamber, and atomizer. Refer to your user guide for specific disassembly steps – different models vary.
Step 2: Brush Out Loose Debris
Use a small brush to remove any loose concentrate residue from the chamber, coil, and mouthpiece. Be gentle to avoid damaging the coil.
Step 3: Soak (If Applicable)
- Metal coils / atomizers: Soak in isopropyl alcohol for 15–30 minutes. Do not soak rubber or plastic parts – they can degrade.
- Ceramic or quartz buckets: Wipe with an alcohol-soaked cotton swab. Soaking is optional.
- Mouthpiece: Check if it is removable and alcohol-safe. Many are safe, but silicone or plastic parts may need soap and warm water instead.
Step 4: Clean with Cotton Swabs
Dip a cotton swab in isopropyl alcohol. Gently scrub the inside of the chamber, the coil surface (avoid aggressive bending), and the mouthpiece airway. Replace swabs as they get dirty.
Step 5: Rinse and Dry
Wipe all parts with a dry paper towel or cloth. Allow all components to air dry completely for at least 20–30 minutes. Never reassemble or use the device while any part is still wet with alcohol.
Step 6: Reassemble and Burn-Off (Optional)
Once dry, reassemble the device. Run the device on a low heat setting for a few seconds (without loading any concentrate) to burn off any residual alcohol. Your device is now clean and ready to use.
Deep Cleaning vs. Quick Wipe
| Cleaning Type | When | What to do |
|---|---|---|
| Quick wipe | After each session | Wipe chamber and mouthpiece with a dry or slightly damp cloth. |
| Regular cleaning | Weekly (or as above) | Full disassembly, alcohol soak, and thorough scrub. |
| Deep cleaning | Monthly or as needed | Same as regular cleaning, plus replacing coil if worn. |
When to Replace the Atomizer / Coil
Even with regular cleaning, coils wear out. Signs you need a replacement:
- Burnt taste even after cleaning
- Significantly reduced vapor production
- Visible damage or corrosion
- Inconsistent heating
Vapx offers compatible replacement atomizers and coils for most devices.
What NOT to Do
- Do not use water – Water can damage electronic components. Use isopropyl alcohol.
- Do not soak battery or electronic parts – Only removable chambers, coils, and mouthpieces.
- Do not use sharp metal tools – They can scratch or break the coil and chamber.
- Do not reassemble while wet – Alcohol residue can create harsh vapor.
Summary
Cleaning your wax vaporizer is quick, easy, and essential for good performance. A clean device delivers better flavor, smoother vapor, and a longer lifespan. Make cleaning part of your routine – your hardware will thank you.
Need cleaning tools?
Browse Vapx’s Cleaning & Care section for brushes, swabs, and replacement parts designed for concentrate hardware.